0
✕

Login

Lost your password?

LV Primary_White
✕
  • Home
  • Portfolio
  • About
    • Biography
      • History
    • Booking
    • Upcoming Events
    • Awards / Activities
  • Blog
  • Shop
    • Sewing Patterns
    • Crafting Tools
    • Polyhedral Dice
  • Home
  • Portfolio
  • About
    • Biography
      • History
    • Booking
    • Upcoming Events
    • Awards / Activities
  • Blog
  • Shop
    F-Sewing patterns

    Sewing Patterns

    tools menu-3

    Crafting Tools

    Dice menu

    Polyhedral Dice

LV Primary_White
✕

Login

Lost your password?

0
0
✕

Login

Lost your password?

LV Primary_White
✕
  • Home
  • Portfolio
  • About
    • Biography
      • History
    • Booking
    • Upcoming Events
    • Awards / Activities
  • Blog
  • Shop
    • Sewing Patterns
    • Crafting Tools
    • Polyhedral Dice
  • Home
  • Portfolio
  • About
    • Biography
      • History
    • Booking
    • Upcoming Events
    • Awards / Activities
  • Blog
  • Shop
    F-Sewing patterns

    Sewing Patterns

    tools menu-3

    Crafting Tools

    Dice menu

    Polyhedral Dice

Submark - LV
✕

Login

Lost your password?

0
0
✕

Login

Lost your password?

Submark - LV
✕
  • Home
  • Portfolio
  • About
    • Biography
      • History
    • Booking
    • Upcoming Events
    • Awards / Activities
  • Blog
  • Shop
needed materials

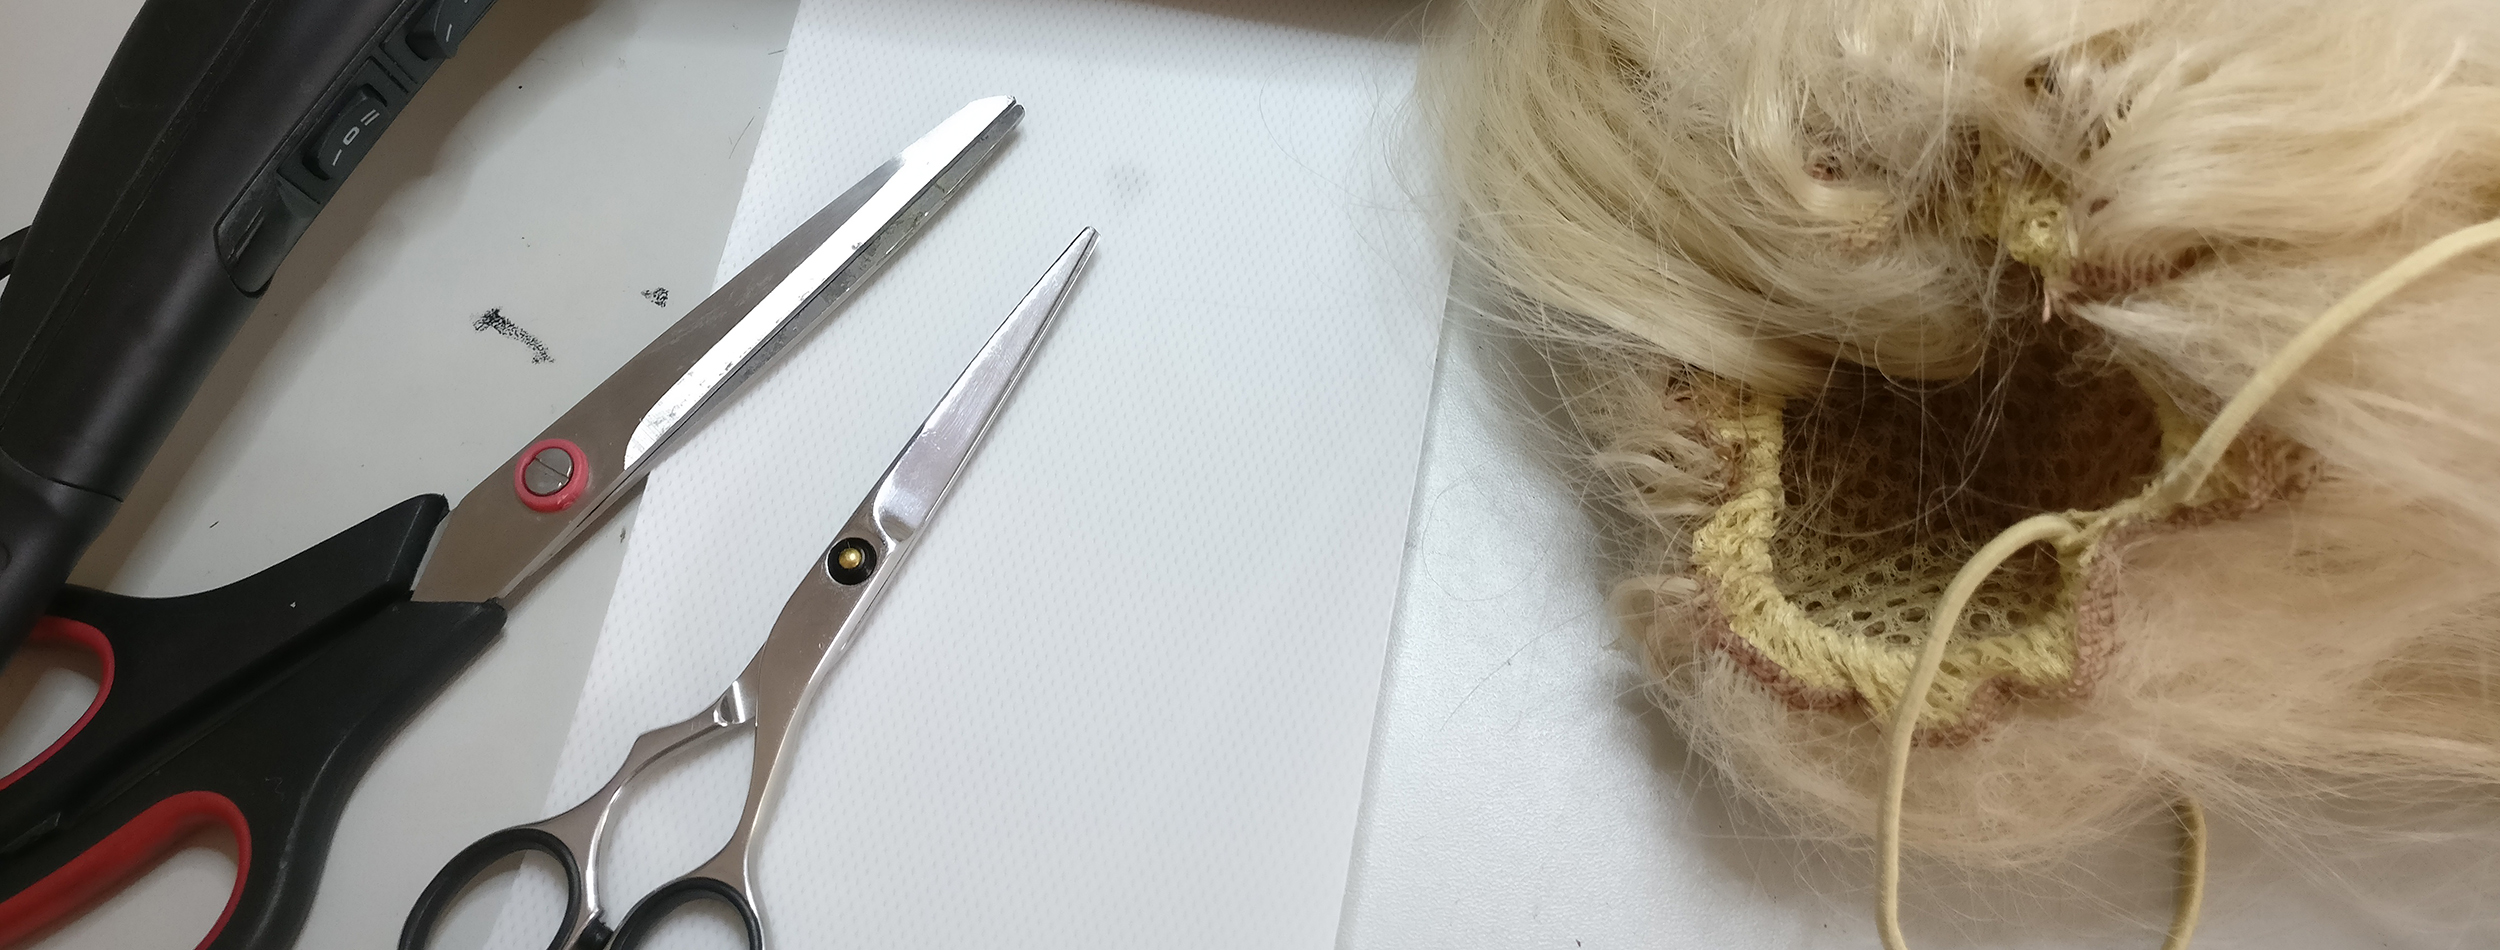
You will need the following materials:

Note: this is a method for a smaller and less heavy pony tail.

  •  Heatgun
  • Scissors
  • Wig scissors (I use a barber scissors for it, never cut something else with it!)
  • Worbla Crobra cast (because its light weight)
  • old pencil (or stick)
  • Clip in wig net (the wig I bought had a clip in pony tale ,I stripes the netting from the clip.)
  • Wig head
  • T-pins
  • Heat proof hands

Safety note:
You will be working with real hot material, make sure not o burn yourself with the heat gun or the worbla

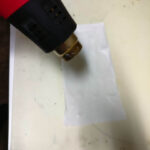
heat it up
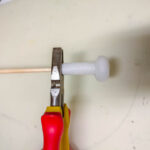
roll the stick in halfway the mesh, and make a bump with the excess.
looking good
trust the progress
cut off the rest
tadaa

Step 1

Making the base

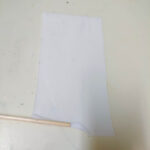
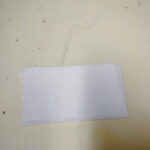
cut a stroke of worbla croba cast, this should have a height of 2x the wanted ponytail distance from the wig. the length is up to you, this will be the thickness of the ponytail (remember you can always ad more)

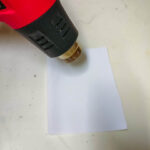
Heat up the worbla cobra cast with your heat gun, I like to do that around a 200°C.
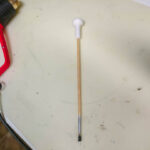
Fold the length of the heated worbla cobra cast in half. press it carefully together and reheat it again, roll the worbla cobra cast around the end of an old paint brush.

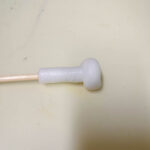
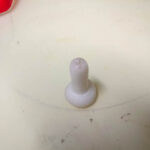
While the worbla cobra cast is still worm press the top part (where there is no stick) into a flat ball.
I pressed the stick on the table to flatten the top and rounded the sides by rolling it over the table. You will have a funny looking paintbrush now.

Cut of the excess of the stick (so it won't pinch in your head), and round the bottom by pressing the worbla cobra cast around it with your fingers. let everything cool down before continuing to the next step.

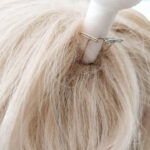
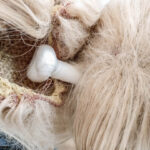
poke it through the wig net
top view
head till soft with a heat gun
2 layers thick for more strength
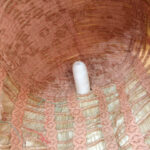
inside view
support the bump with pins

Step 2

Attaching the base to your wig

This will be the challenging part.
First test if your bump is wide enough to hold the wig net, do this by pulling the elastic.

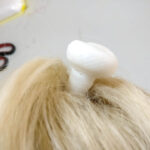
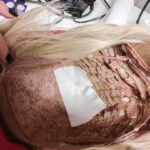
Decide where you want your pony tail to be, press the small side of your bump in the wig. Heat up a square of worbla cobra cast and carefully heat up the bottom of your bump, watch out you don't want to burn your wig in this step. When both part are worm press the bump in the middle of the worbla cobra cast square.
Now carefully place the wig on a wig head, this will make sure the worbla cobra cast is curved in the shape of your head. When on the wig head you can hold the bump in place with your hands or some pins, let everything cool down.

cover the bump with the ponytail cap
place a firm knot
cut off the excess elastic

Step 3

Attaching the ponytail

Check if the bump is standing correctly. if not you can always add another square of worbla cobra cast to secure it more.

cover your bump with the wig net (that you can remove from the clip) and pull the elastic real tight. Ad a knot in the elastic and cut off the excess elastic.

For the perfect finish wrap a band around the pony tail that matches your outfit.

One more thing!
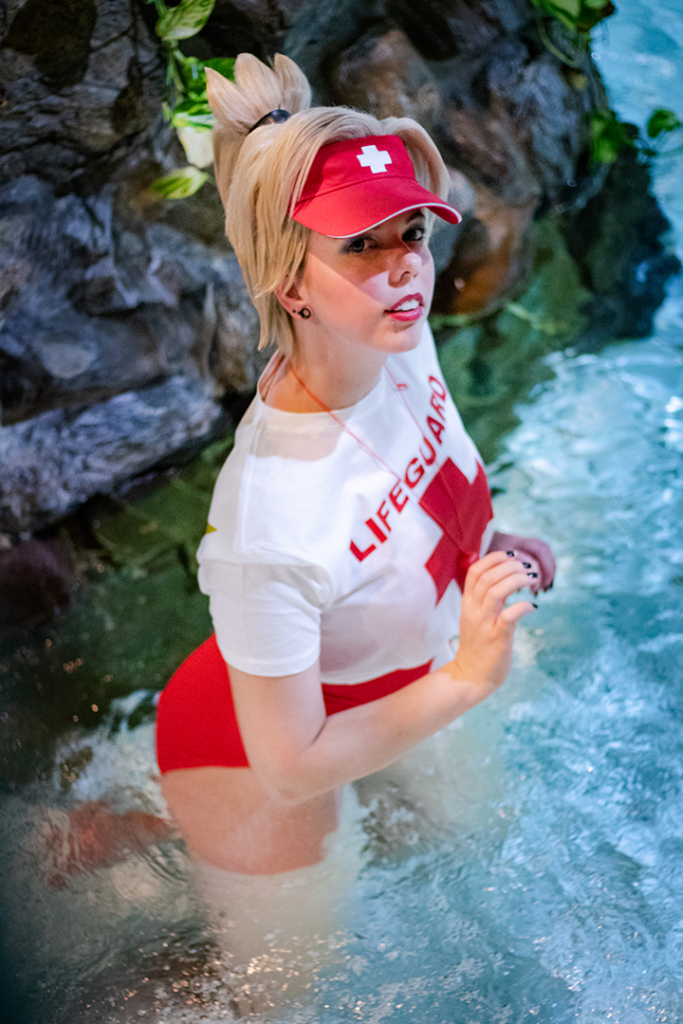
Wear with pride, you just made a epic ponytail!

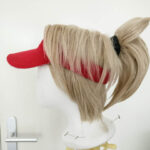
Final result

mercy wig 1
mercy wig 3
mercy wig 2
Photo: van Hoogstraten Fotografie, Edit: Linny l'a Vanté

Social Feed

Little mini tutorial, an easy way to make adorable Little mini tutorial, an easy way to make adorable tassels using a pet brush.

This method works great with wool like threads, in my case I used the raw fabric edge which is a wool/poly blend. 
I knotted sections of 5cm threads off and used a pet brush with metal teeth to brush everything out. After this the tassels could be cut to the desired length or leave as they are. 
Making 1 tassel takes about 1-2 minutes, I ended up making 131 tassels for a full border.

Happy crafting ~Linny

#tutorial #tassels #diy #details #5minutecrafts
Life of a costume maker, when you think to add a c Life of a costume maker, when you think to add a cute detail but forget that it has to be done to 5m of fabric.

To give a change of pace I decided to pause the current sewing pattern I'm working on and make something for myself, using the fabric stock I have. 
What started as a quick 2 day project turned into something bigger, after I decided I like to add fluffy tassels to the edge. I ended up making tassels for 2 days, but the textures are so worth it.

Does this sound familiar to you? Or do you like to avoid these tasks and buy pre made tassel tape?

Keep an eye on my stories for up to date crafting progress & don't forget to follow to see the end result.

#bespoke #seamstress #costume #wip #cosplay #makeityourself
Looking ahead whilst the leaves are falling, enjoy Looking ahead whilst the leaves are falling, enjoy your weekend.

Photo: @fantasticpeoplepictures
Costume & model: @linny_la_vante 
Sewing Patterns: @linny_la_vante 

#sewingpattern #cosplaypattern #sewingtutorial #ポケモン #ミミッキュ #型紙 #pokemongirl #mimikyu #tutorial  #geekgirl
Still in love with Mimikyu, it's so comfy to wear Still in love with Mimikyu, it's so comfy to wear and you can even see through the eyes in the hood.

I started drafting conversation size sewing patterns this year and I'm currently in the picture tutorial / sew along stage of 3 new character costumes.
The first one that's already available on my website is Mimikyu, if you follow my stories you've already seen the upcoming character I'm working on. As Mimikyu this will be a difficulty 2 costume incl. sew along picture tutorial.

I hope to spread the love for sewing and invite new people to the wonderful hobby, I started in 2006 and hope to share my experience.

First Photo: @fantasticpeoplepictures
Costume & model: @linny_la_vante

.
#sewingpattern #sewingpatterns #sewing #tutorial #mimikyu #pokemongirl #pokemoncosplay #cosplaygirl #kawaiigirl #geekgirl
An easy & detachable handle for sewing rulers. I An easy & detachable handle for sewing rulers.

I love all the alignment lines an omnigrid gives me but I dislike the fact that I can't hold on to it easily. Ive tried multiple brands that offer ruler handles with suction cups, most handles have 1 suction cup giving up making the ruler spin unwanted.

Nowadays I use a pop socket with a magsafe function. This works amazing on a wide variety of rulers and not only the ones I use here, they also work great on stitching rulers.

I just stuck the spare magnet ring that came with the sock poppet in the middle of the ruler and enjoyed all its convenience. 

What do you personally prefer? A ruler with suction cup handle or are you going for the pop socket method?

(This is not sponsored, just sharing a useful tip)
.
.

#sewingtips #diy #tipsandtricks #sewing #omnigrid #popsocket @popsockets #tutorial
I'm in love with all the autumn colours around me. I'm in love with all the autumn colours around me.

Mimikyu sewing patterns & sew along tutorial available on ny website (link in bio)
All sewing patterns are hand drafted and graded into 5 sizes,  NO AI BUT HANDMADE!

Photo: @fantasticpeoplepictures 
Cosplayer: @linny_la_vante 

#sewingpattern #pokemongirl #mimikyu #tutorial #halloween

Stay up to date

LV_Submark_White
Menu
  • Home
  • Portfolio
  • About
    • Biography
      • History
    • Booking
    • Upcoming Events
    • Awards / Activities
  • Blog
  • Shop

© 2025 By Linny l'a Vanté , All Rights Reserved

© 2025 By Linny l'a Vanté , All Rights Reserved

  • Refund and Returns Policy
  • Terms and Conditions
  • Privacy Policy
paypal
✕

Login

Lost your password?

Create an account?

  • Cookies
  • Details
  • About Cookies

We are baking some cookies to improve your experience. By using this website you agree to our Privacy Policy.

Necessary

Necessary cookies help make a website usable by enabling basic functions like page navigation and access to secure areas of the website. The website cannot function properly without these cookies.

Analytics & Performance

Statistic cookies help website owners to understand how visitors interact with websites by collecting and reporting information anonymously.

Marketing

Marketing cookies are used to track visitors across websites. The intention is to display ads that are relevant and engaging for the individual user and thereby more valuable for publishers and third party advertisers.

Cookies are small text files that can be used by websites to make a user's experience more efficient.

The law states that we can store cookies on your device if they are strictly necessary for the operation of this site. For all other types of cookies we need your permission. This means that cookies which are categorized as necessary, are processed based on GDPR Art. 6 (1) (f). All other cookies, meaning those from the categories preferences and marketing, are processed based on GDPR Art. 6 (1) (a) GDPR.

This site uses different types of cookies. Some cookies are placed by third party services that appear on our pages.

You can at any time change or withdraw your consent from the Cookie Declaration on our website.

Learn more about who we are, how you can contact us and how we process personal data in our Privacy Policy.

Please state your consent ID and date when you contact us regarding your consent.

Deny Customize Allow selected Allow all